Island Install Instructions
-
In our install steps, the term “combo” refers to a hardware unit that has an integrated modem, router, and often Wi-Fi too. Your Internet provider supplies either a combo or a standalone modem plus separate router. If the modem and router are separate, you will use only the modem. For a new-from-scratch install, try to pre-order only a modem from your ISP.
-
Island does not come with built-in Wi-Fi, so you will need to purchase or acquire a wireless mesh system or other wireless access points if:
This is a new-from-scratch installation
Your provider has supplied a combo
You are totally replacing an existing wireless router
-
Ideally, there should be only one router on your network, and Island will be it. Router functionality comes integrated in various other products, such as a combo, a wireless mesh system, or a wireless router. By default, the router function in those products is normally active. So, during the Island install process, you will be instructed to disable any other router function on the same network. Leaving a competing router function active can impact performance, as well as cause other issues. At the designated step in the install:
If you are using a Wi-Fi mesh system, you will need to know how to put it in AP mode using the manufacturer’s app
If you have a provider-supplied combo, you will need to know how to put it in bridge or pass-through mode according to the provider’s instructions. Be aware that some providers’ combo units do not support bridge mode, in which case you should order a modem only from them. Information for some common ISP combos can be found on the Island website at: https://support.islandrouter.com/compatibilities
-
Google access points are not compatible with Island for this reason: when using more than one of their APs, Google insists on being the router and does not allow bridge or AP mode, making the One Router Guideline impossible. Note that using Google fiber-to-the-home as your Internet service works fine and is unrelated.
-
In all router replacement cases, if Island is installed into an existing network while the router-to-be-replaced is still active, Island will learn and retain existing IP addresses of the router, devices, and VLANs. To take advantage of this time-saving feature, it is imperative to follow the instructions in the exact sequence.
-
The Island app does not use or place any data in the cloud; the mobile app requires a local wireless connection to make the first contact with an Island. When you launch the app, it searches for a local Island, and offers different prompts depending on whether the device you are using has been used previously to install one or more Islands or not, Choose the appropriate condition below:
If this is the first time you are opening the app on your phone or other device:
Launch the app; it will detect if no Island is present and prompt to begin the install
Follow the install steps
If opening the app on the same device that has previously been used to setup one or more Islands in other locations, the app will either:
1) Automatically connect to a specified previous Island. In this case:
Go to the main menu at the upper left, and select Tours
Select Discover to find the new local Island; the app will then prompt to continue with setup
2) Or present a list of accessible Islands. In this case:
Choose any Island in the list to open the app
Go to the main menu at the upper left and select Tours
Select Discover to find the new local Island; the app will then prompt to continue with setup
If using the Islandrouter website to get instructions:
Go to the website support-page tab Install Steps and follow instructions
You will be instructed to launch the app at the appropriate step
Read Before You Install
There are two options for installing Island:
Use the mobile app on a phone or tablet
Simply download the app onto your Android or iOS device and follow the instructions.
Get Started
OR Connect through the web app
You may access the Island through a standard web browser by simply plugging a laptop or other device into an unused port on the island and then browsing to https://my.islandrouter.com.
If you connect the Island to an existing LAN where Island is not the primary router or DNS server, browsing to https://my.islandrouter.com from another device on the LAN will not work; however, you can still access Island from another device on the LAN via a web browser by obtaining the IP address of the Island from the existing DHCP server and browsing to that address.
Important Reminder
Island is a wired router.
Every installation will need a source of Wi-Fi (can be one or more APs or a mesh).
Preview the Instructions
Installation Videos
Island CLI Documentation
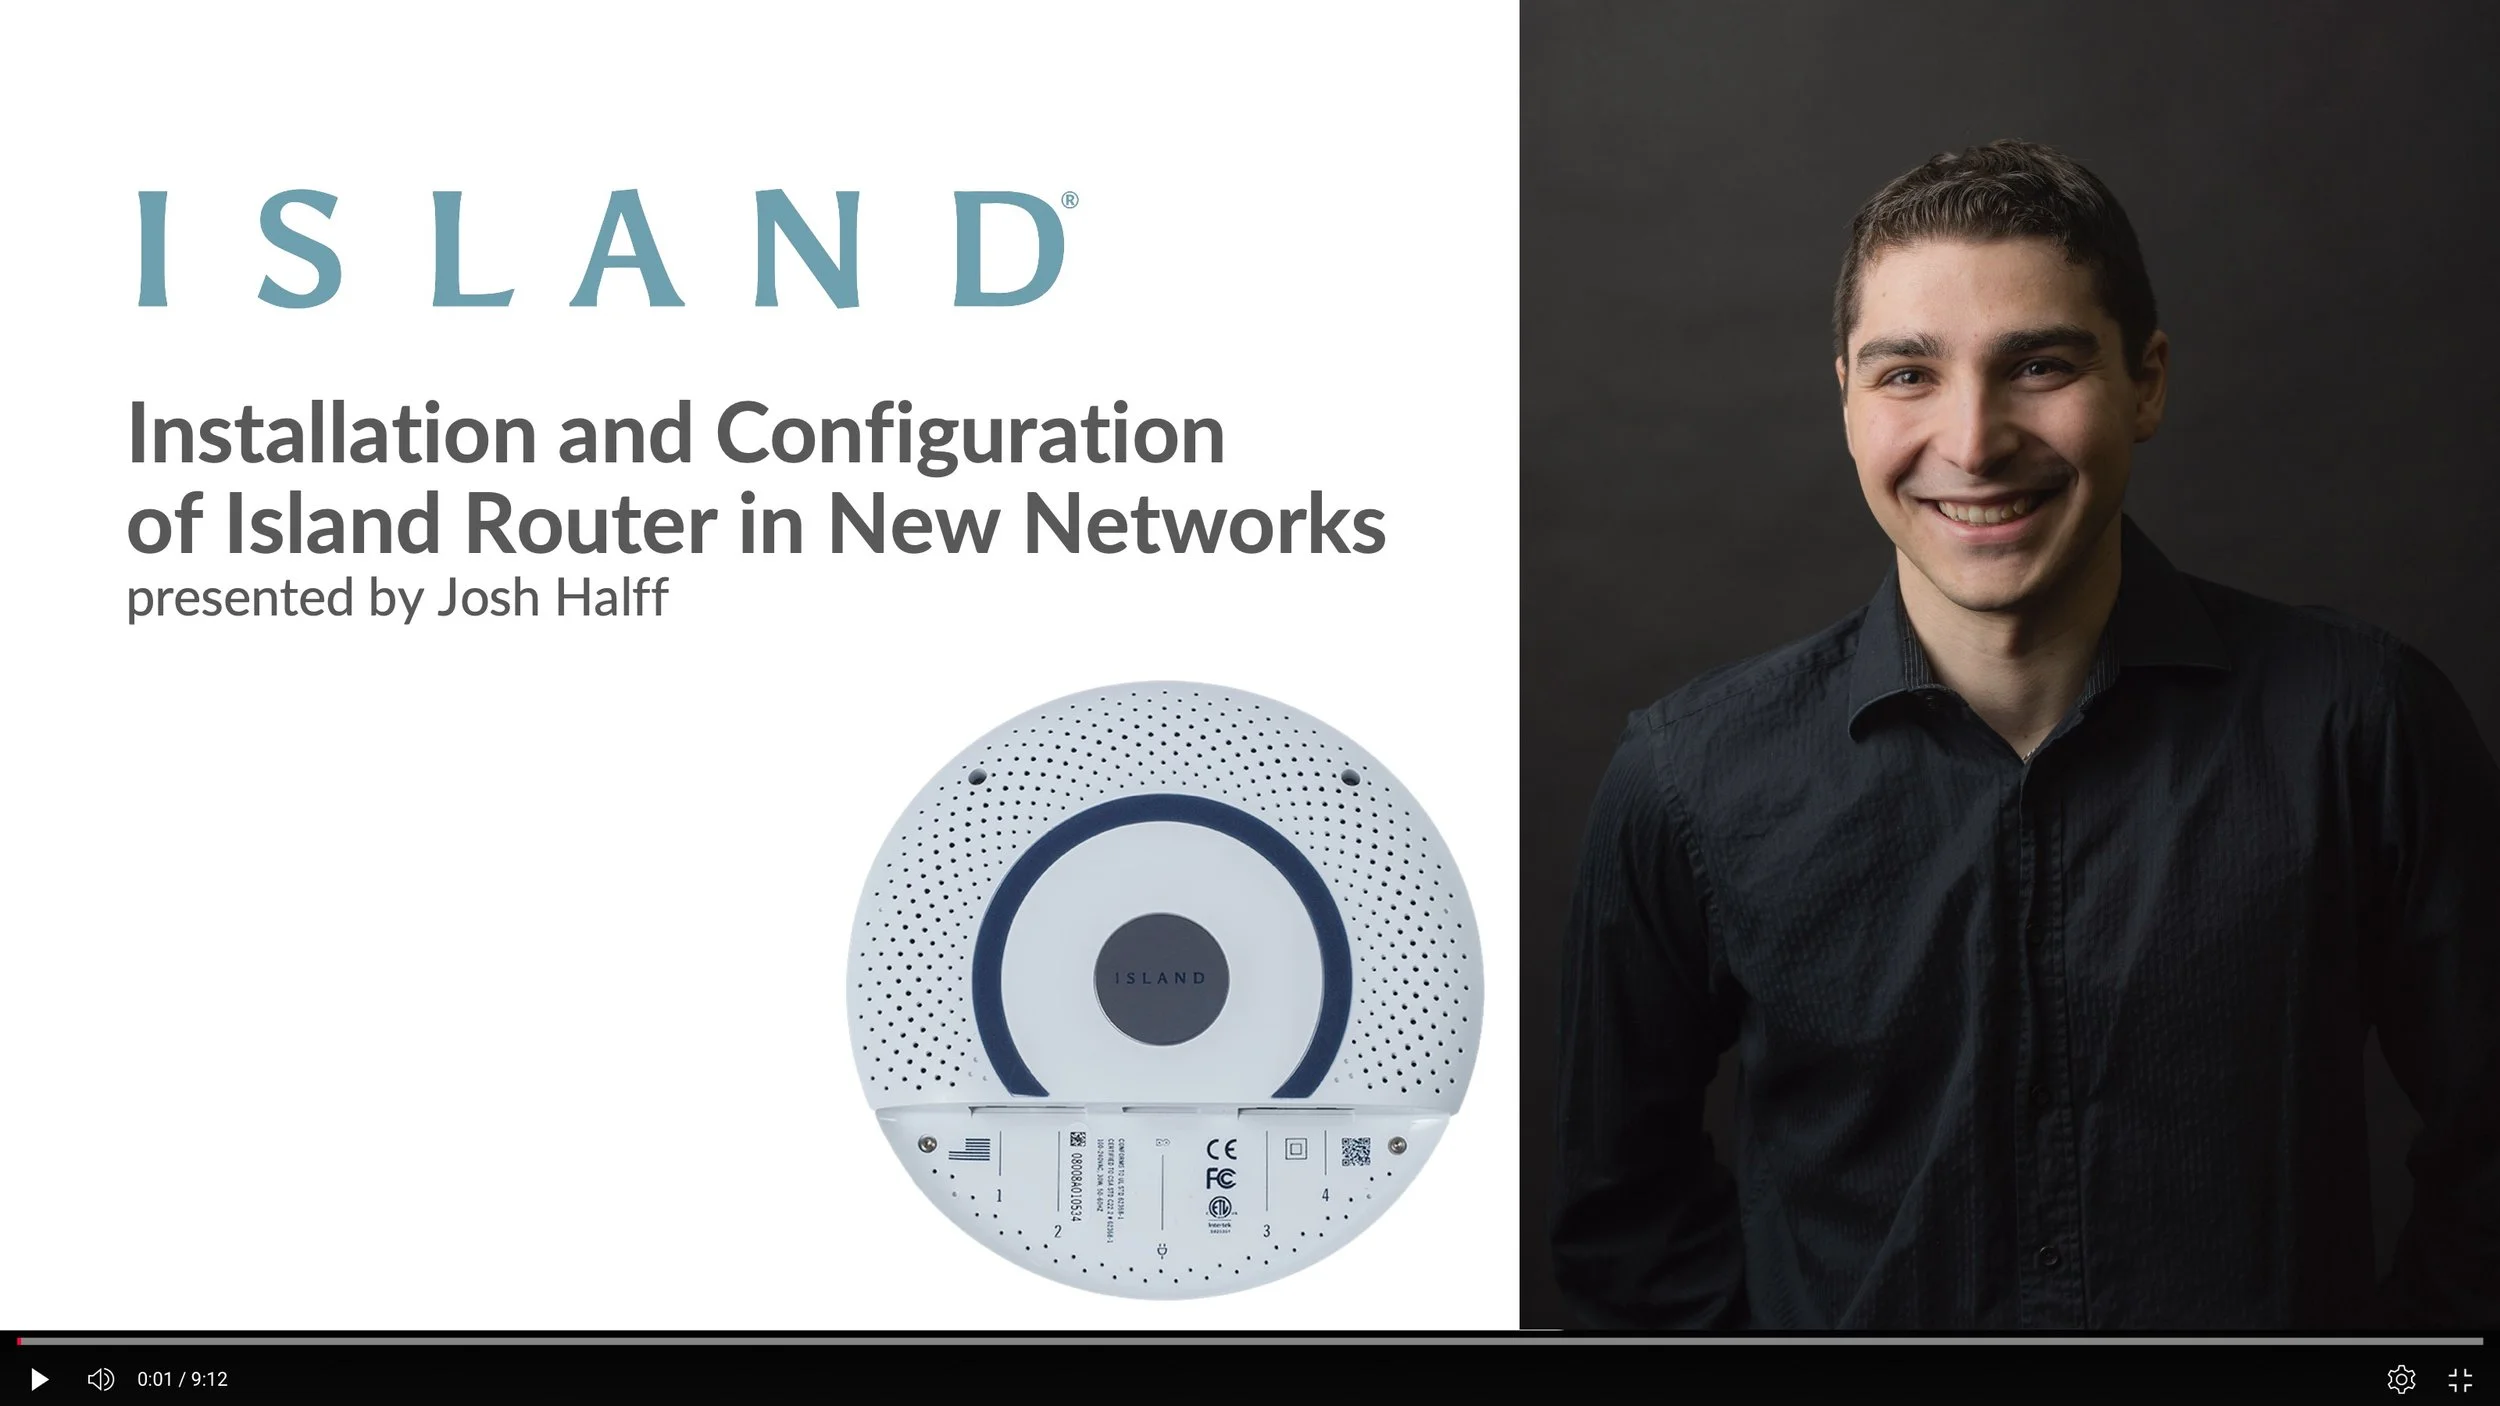
Island Router Installation and Configuration for New Networks
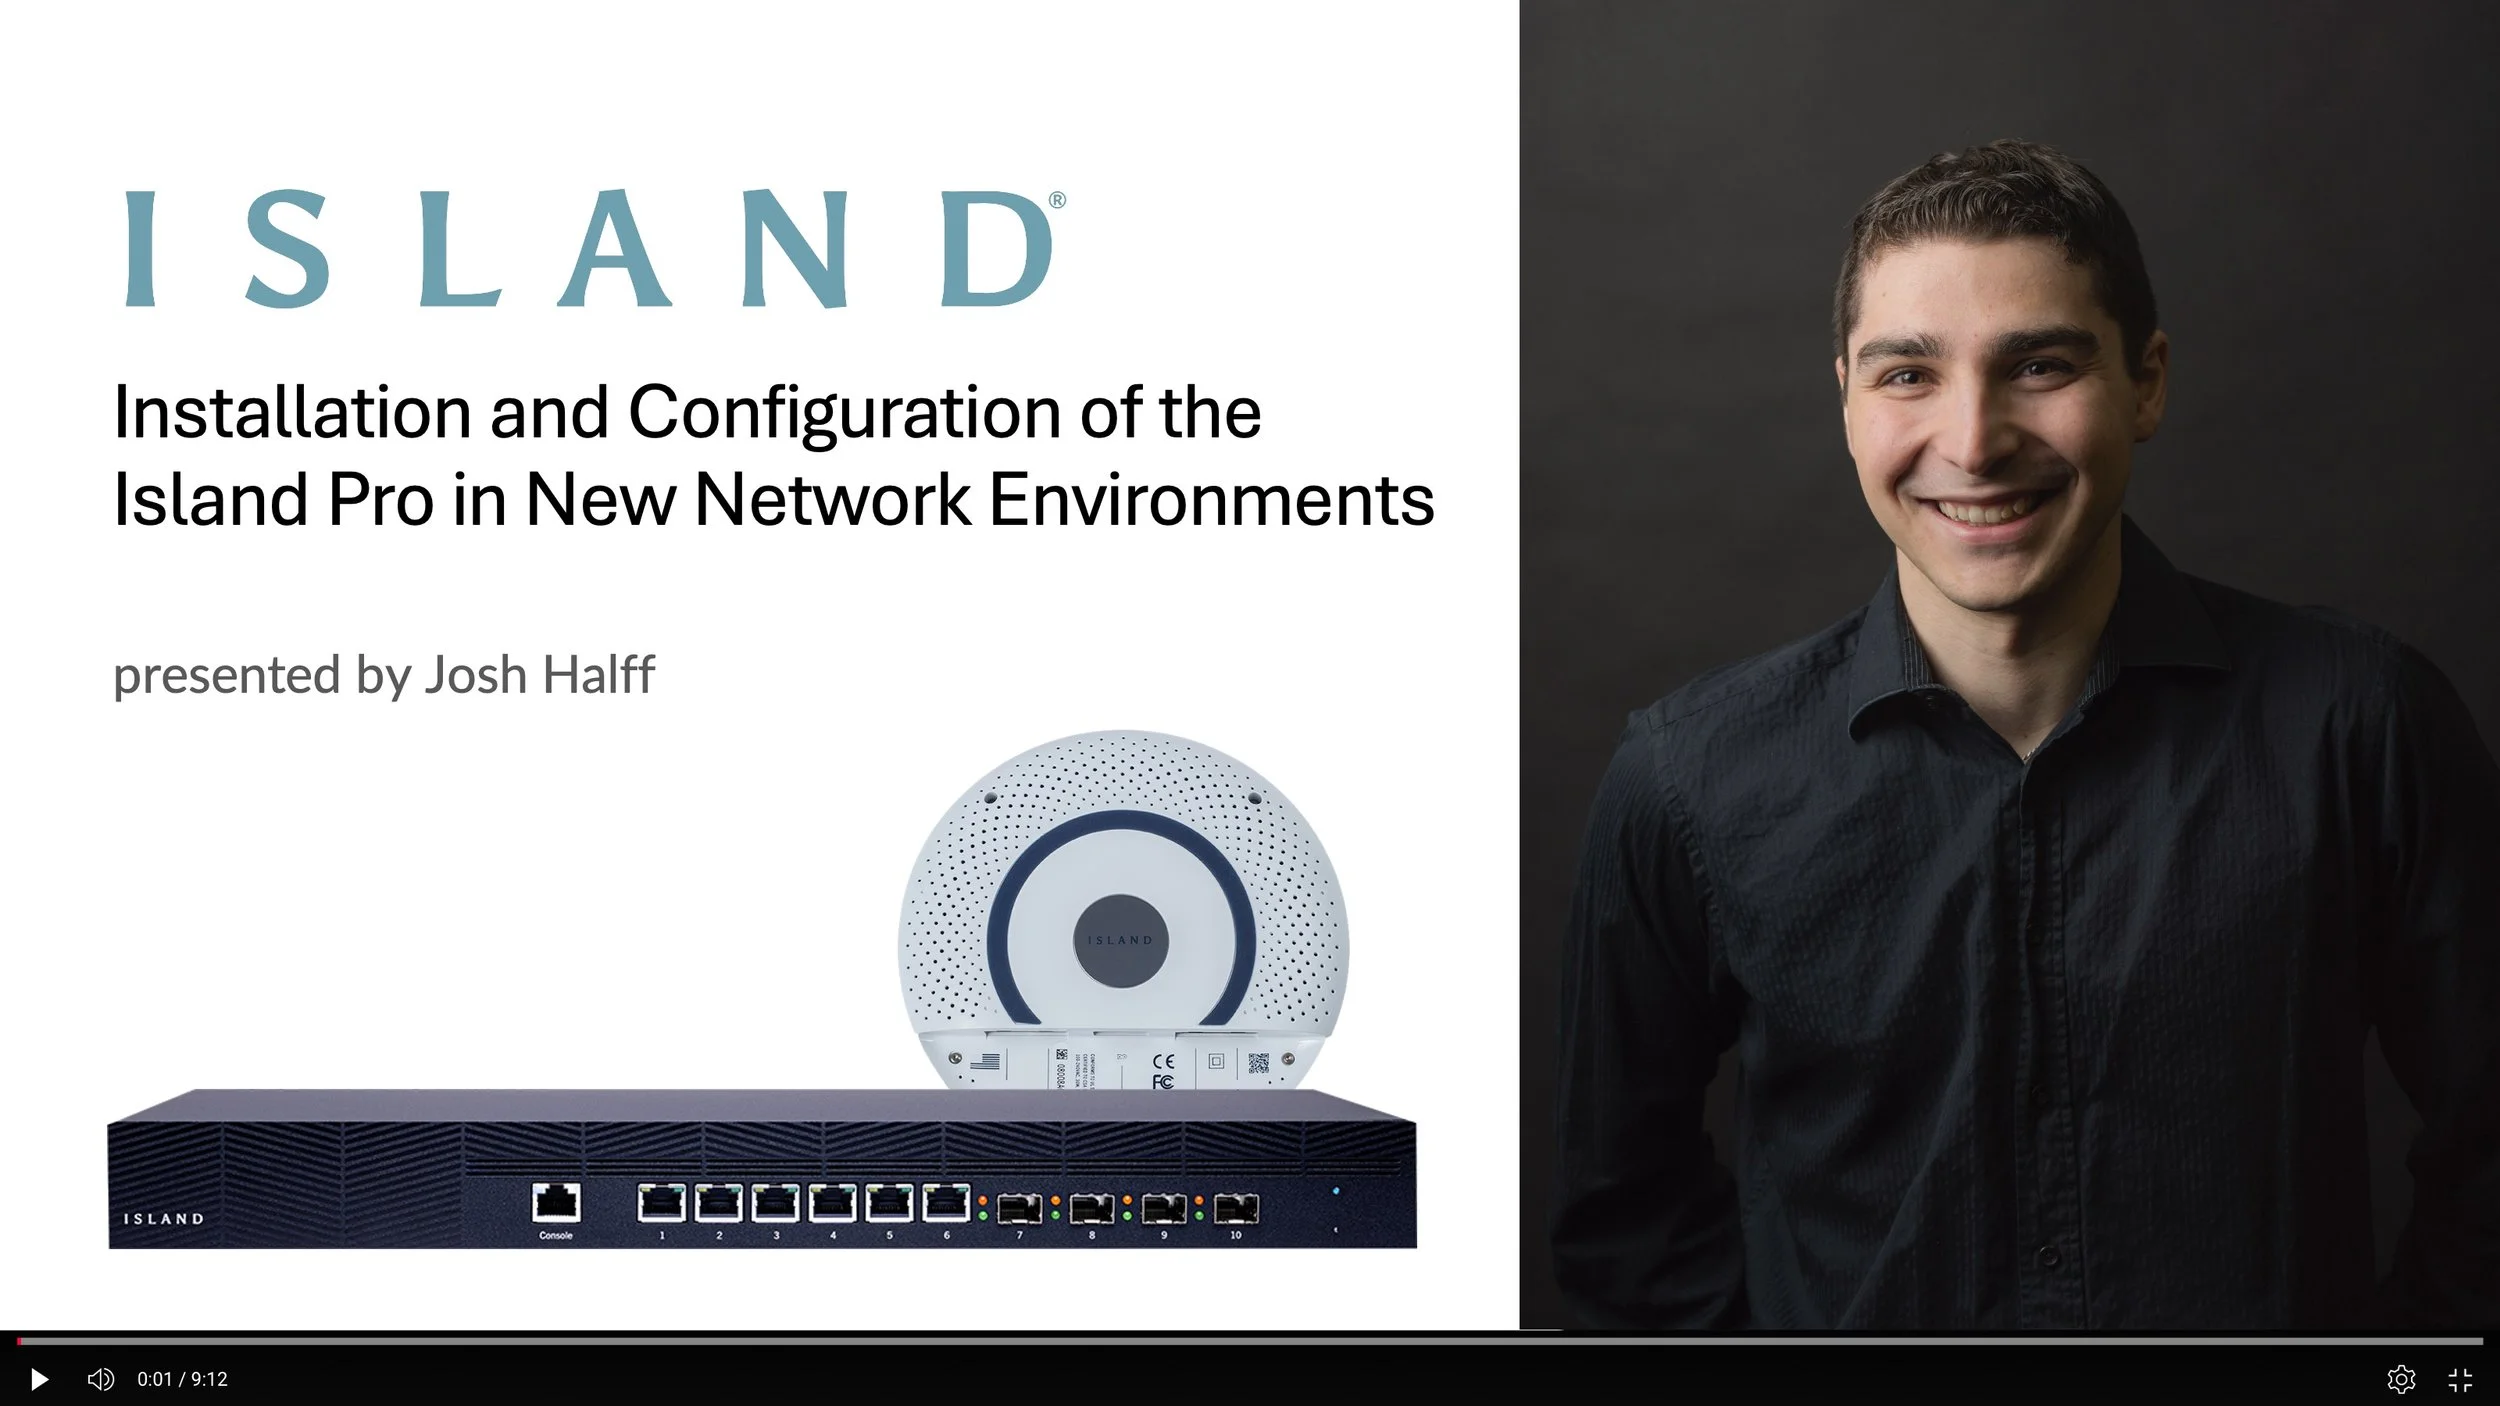
Island Pro Installation and Configuration for New Networks
If you prefer to use the Command Line Interface (CLI), go to docs.islandrouter.com for the latest documentation on those instructions (click here to download the PDF version).
Troubleshooting
Having any issues? Here are a few common sand traps and their solutions.
-
Reason: The device running the app is not on the same local area network (LAN) as the Island.
Solution: Ensure the device is connected to the same Wi-Fi or wired network as the Island.
Reason: The device running the app is using a VPN.
Solution: Ensure all VPNs on the device are disabled.
Note: If neither of the above reasons applies, go to app’s main menu, select Tours, scroll down to Discover, and tap on “Tap HERE to start a search” to force the app to search the LAN for an Island.
-
Reason: The Island has been previously set up.
Solution: Reset the Island to factory defaults using the hardware reset button. This will permanently delete any previous configuration and data on the Island!
-
Reason: The app always tries to connect to the last Island it was connected to.Solution: On the app’s main menu, select Tours,scroll down to Discover, and tap on “Tap HERE to start a search.”


