
Initial Island Configuration
Getting Started
You may choose one of two options for accessing the Island interface:
Phone App: Make sure you're connected to the newly installed Wi-Fi and you can launch an app if you haven't already. The app should discover the Island so you can continue with setup.
Web App via laptop (recommended): Plug the laptop into the switch. Open a browser and type my.islandrouter.com. As you continue with setup, you should see the same thing you would as if you were using the app on your phone.
Configuring Island Using the Web App
Step 1:
After connecting the Island hardware to the switch and access point(s), plug a laptop into any available port on the switch. Open a browser and go to my.islandrouter.com where you should see the menu below. Initialization is highlighted by default. Click Begin.

Step 2:
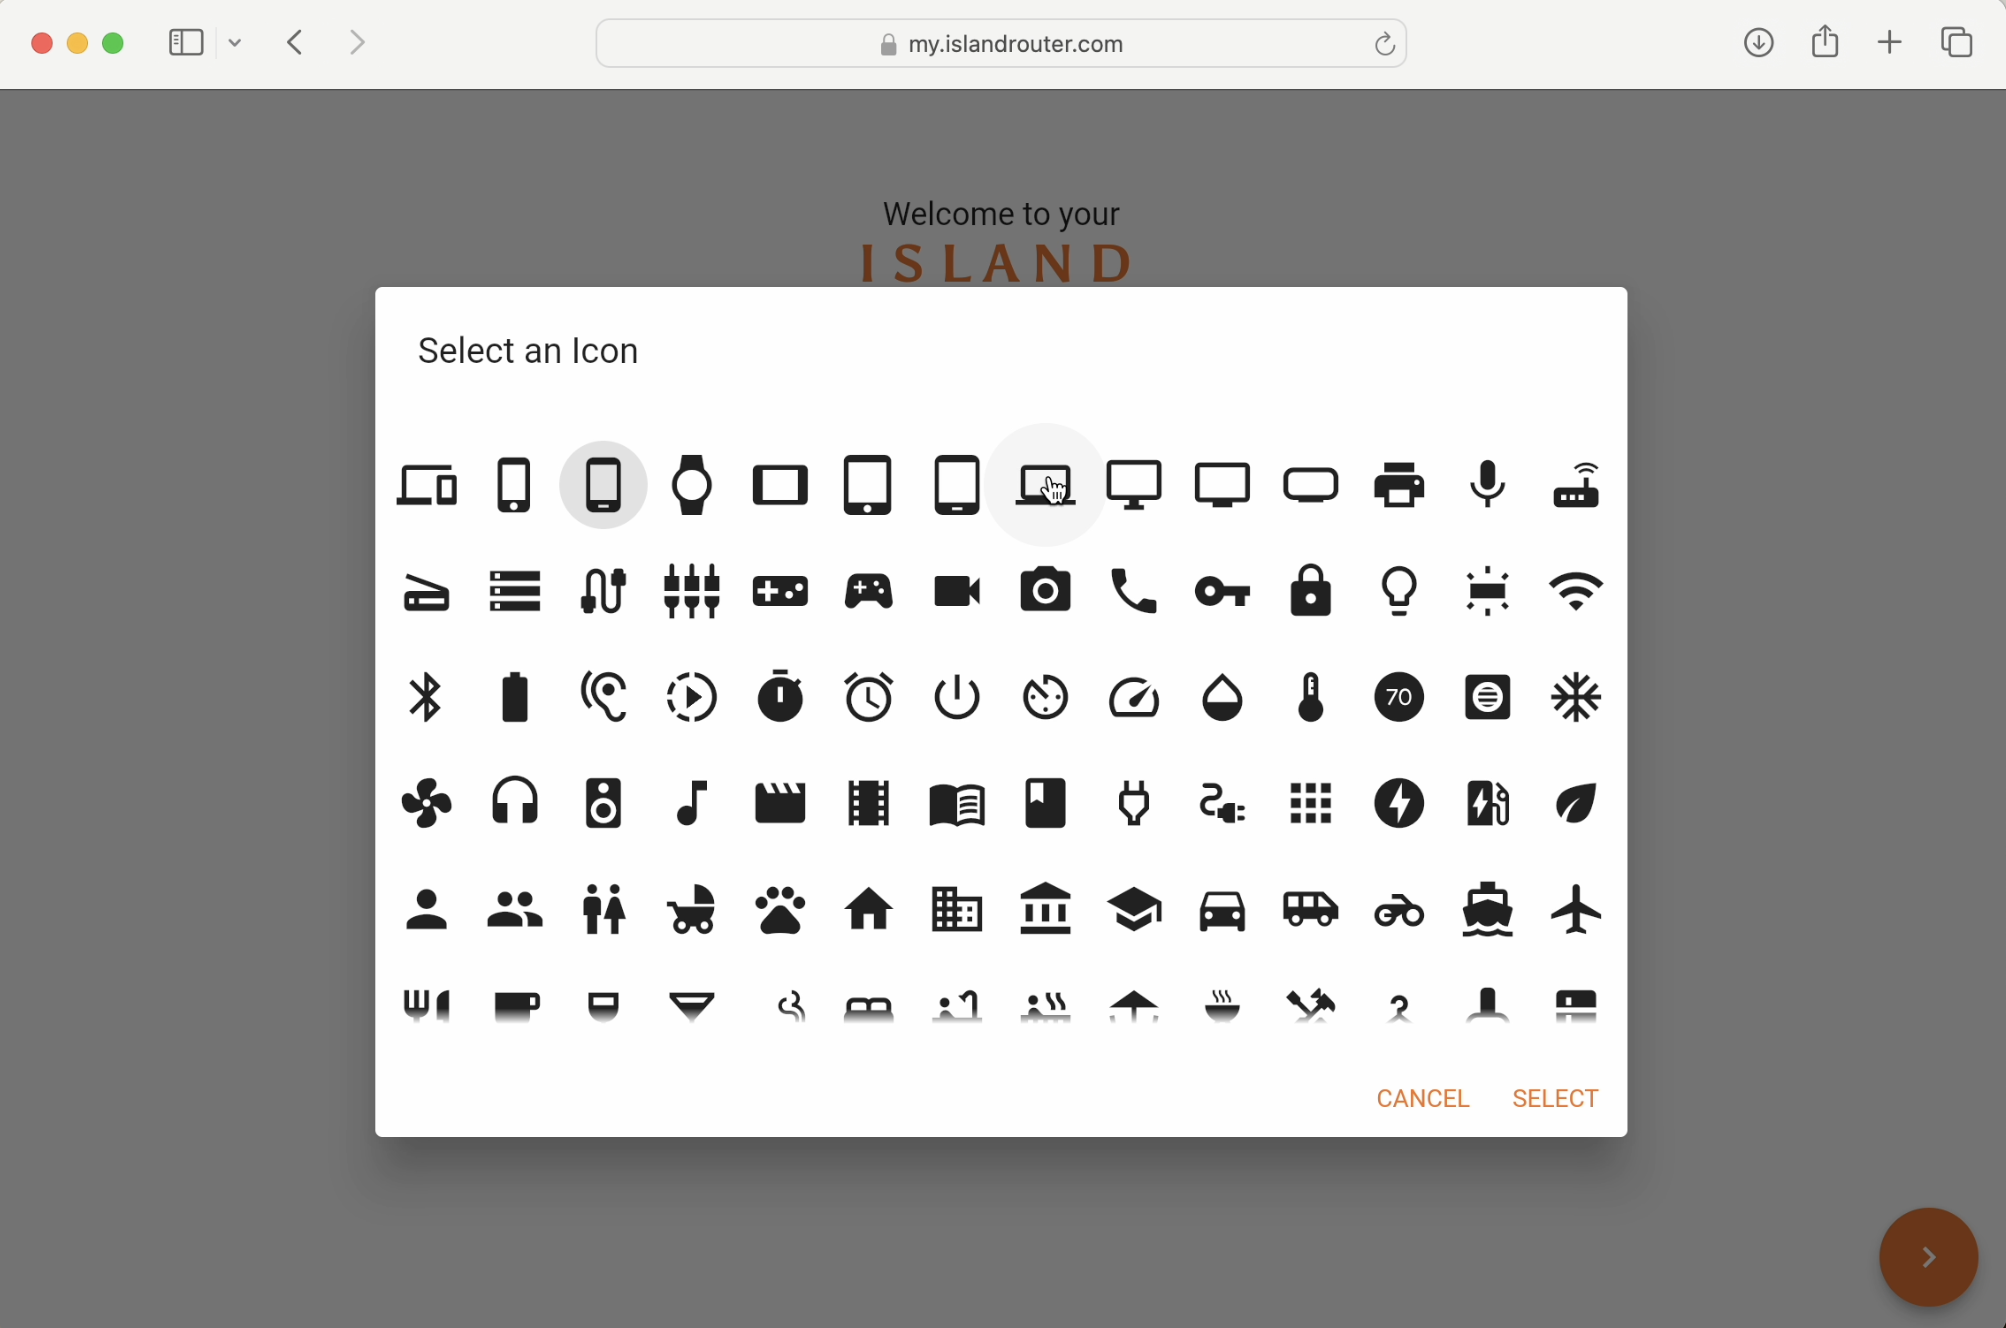
Designate an icon for the device from which you’re accessing Island. Click the default phone icon and then click to choose from the list of available icons. Click Select, and then click the right arrow in the lower right-hand corner.

Step 3:
Assign a name to this device and then click the arrow in the lower right-hand corner:

Step 4:
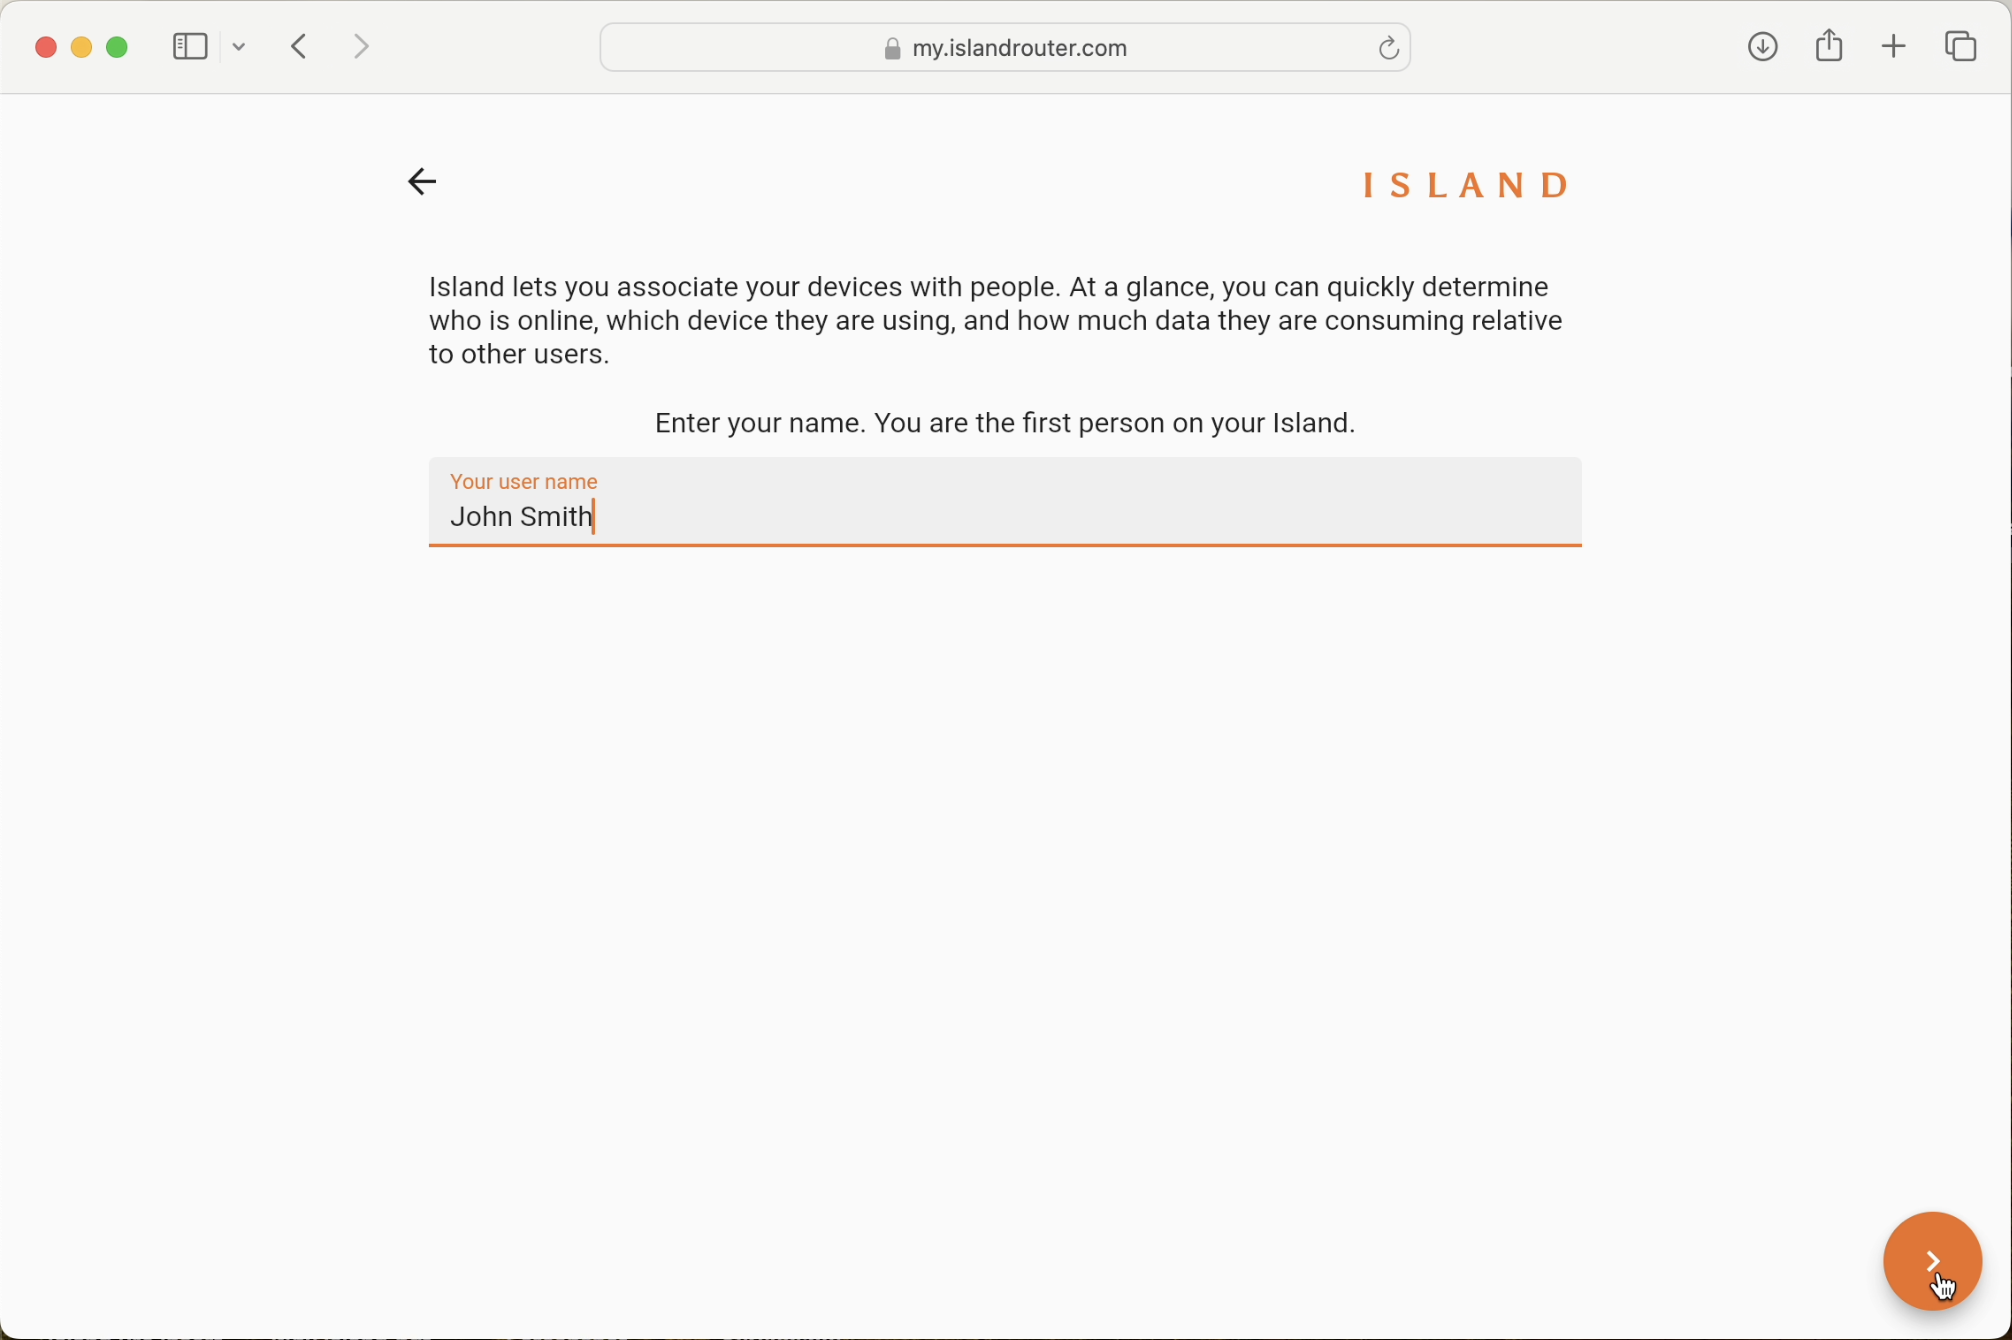
Create a name for the user of this device. Click the orange arrow in the lower right-hand corner. Then select a color for this user by clicking on the default color and then choose from the color palette.
Click the orange arrow in the lower right-hand corner.


Step 5:
Set the PIN (a 6-10 digit number). Be sure to record this PIN for future access to this Island. If you would like your browser to remember the PIN, toggle Remember PIN on this device to the right.

Setting the Network Configuration
You will now see the home screen of the Island app. The Island palm tree graphic should appear as shown below. If there is an issue, you would see either a yellow or red exclamation point.
A yellow exclamation point indicates an unstable Internet connection
A red exclamation point indicates no Internet service
Important: As an installer, you may need to see more detailed information about the network. Be sure to enable Geek mode before proceeding. All screen shots in this doc assume Geek mode has been enabled. To enable Geek Mode, click on the three dots in the upper right hand corner. You will also see a toggle for Help mode. Help mode simply adds text to various functions for a more detailed explanation of what they do. We will leave Help mode off for this installation example.


Quick Configuration:
Island recommends you lock down the LAN and WAN ports in every installation to avoid any conflict down the road with new devices or additional WAN interfaces. The automatic LOCK detection feature makes this process fast and easy.
Notice the small orange exclamation point next to the palm tree graphic. Click this icon and the following message appears.
Click LOCK and Island will automatically configure the ports to their respective LAN and WAN mode.
To make additional configuration changes such as setting a specific IP address, DCHP scope, and much more, click here.
You are now ready to set up the devices, users, and groups on your Island.
Basic Troubleshooting
If the light on your Island is red or the device appears to be offline, try the following troubleshooting steps in this order.
Confirm you're using the Internet port on the ISP's modem or modem-router combo to connect to your Island. When plugged into this port, the router will light up (white) as it connects and turn solid blue when operational.
If you do not see a solid white light or blue light, then try a different Ethernet cable or a different port on the ISP's modem/route. Wait a few minutes for the Island to reconnect.
If Island is still offline, unplug your devices and plug them back in. Power cycle the ISP modem and the Island Pro by disconnecting the power cables from each device for 1-2 minutes and then reconnect them. Wait for the status lights on the Island to cycle from white to blue.
If you're still having trouble, call your ISP and confirm whether your modem uses a static IP or DHCP address. It's rare that the Island router would not be able to connect with DHCP, so they may be able to advise.
If your ISP has assigned a static IP address, be sure to check that you have designated the mode on the WAN interface to WAN w/ static IP assignment. Also make sure you’ve added the static IP address in the IP address field when editing the interface (Step 7 above).
If these steps do not help resolve the issue, reach out to your onboarding consultant or Island support to speak with a networking specialist for further assistance.
