
Island Pro Smart Swap® Instructions
• Wired Router • Switch
Smart Swap is a patented feature unique to Island that can save install time and hassle. Note that not every install is a candidate to use this feature. Smart Swap is used only when replacing an existing router and only when it’s advantageous to retain existing IP address schemes including those of VLANs. Note that a successful Smart Swap requires that steps are followed in the exact sequence below.
YOUR EXISTING NETWORK, AT MINIMUM, SHOULD INCLUDE:
The modem or combo unit supplied by your ISP
A router, referred to as the “existing” router in these steps
WiFi mesh or access points (APs) installed according to the respective manufacturer’s instructions
An Ethernet switch (any brand; required if your network includes more than 1 wired device)
Important: Before proceeding, if using a mesh system, make sure it is in bridge/AP mode. Failure to do so will result in a double-NAT situation and the app may not be able to find the Island.

To Get Started:
Step 1:
Power up Island. Wait about 30 seconds for the light to turn from white to blue.

Step 2:
Within 5 minutes of powering up Island, plug Island into the switch. Immediately, Island’s Smart Swap feature learns the existing network addresses.
If connecting to the existing LAN does not occur during this 5 minute window, Smart Swap will not succeed.
Note: If there are VLANs on the network, ensure you are connecting Island to a trunk port on the switch. Any existing VLANs will be preserved after the replacement.

Step 3: Continue using either:
The web app (requires a laptop and Ethernet cable) or
The mobile app (requires installed and accessible WiFi)
If using the web app
Plug a laptop into any open port on the Island.
Browse to my.islandrouter.com.
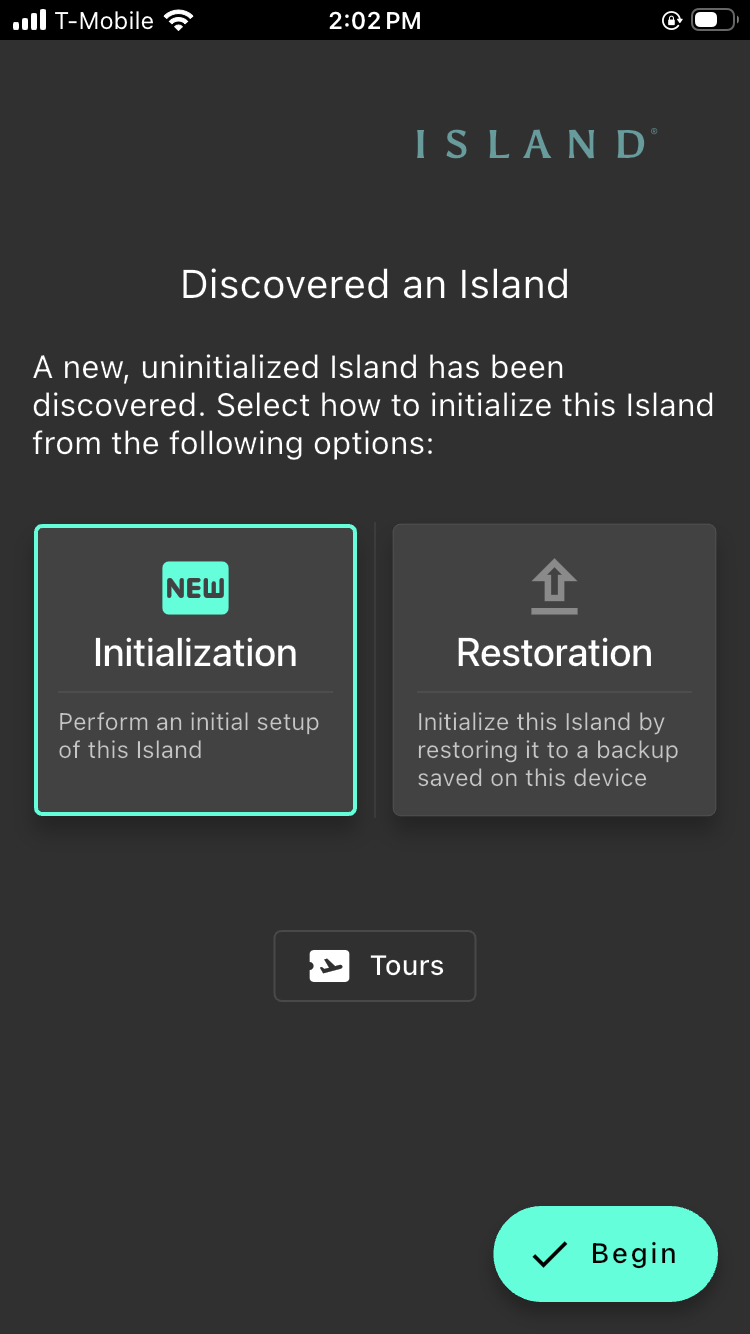
Choose “Initialize” on the app screen.
If using the mobile app
Download the Island app from the App Store.
Launch the app. If the device you are using has been previously used to set up other Islands, see the note below. Otherwise, continue with Step 3.
Note: If the app opens to a previously-setup island, go to Tours and select Discover. If the app opens to a list of previously-setup Islands, choose any Island, go to Tours and select Discover. If you have cleared the “home” Island designation on your previously-setup Island, the app will either go directly to Discover or will start up in Tours if multiple Islands are remembered. In each case, upon doing a Discover, you will connect to the new uninitialized Island.
If you had previously made a backup of any Island on the mobile device, you will be prompted to Initialize or Restore. Choose Initialize. If a previous backup does not exist, the app will go directly to the following setup prompts.
Setup Steps Common to Web and Mobile App:
Step 4:
Reply to the prompts beginning with name your Island, name the device from which you are connecting to this Island, first user setup, and so on.
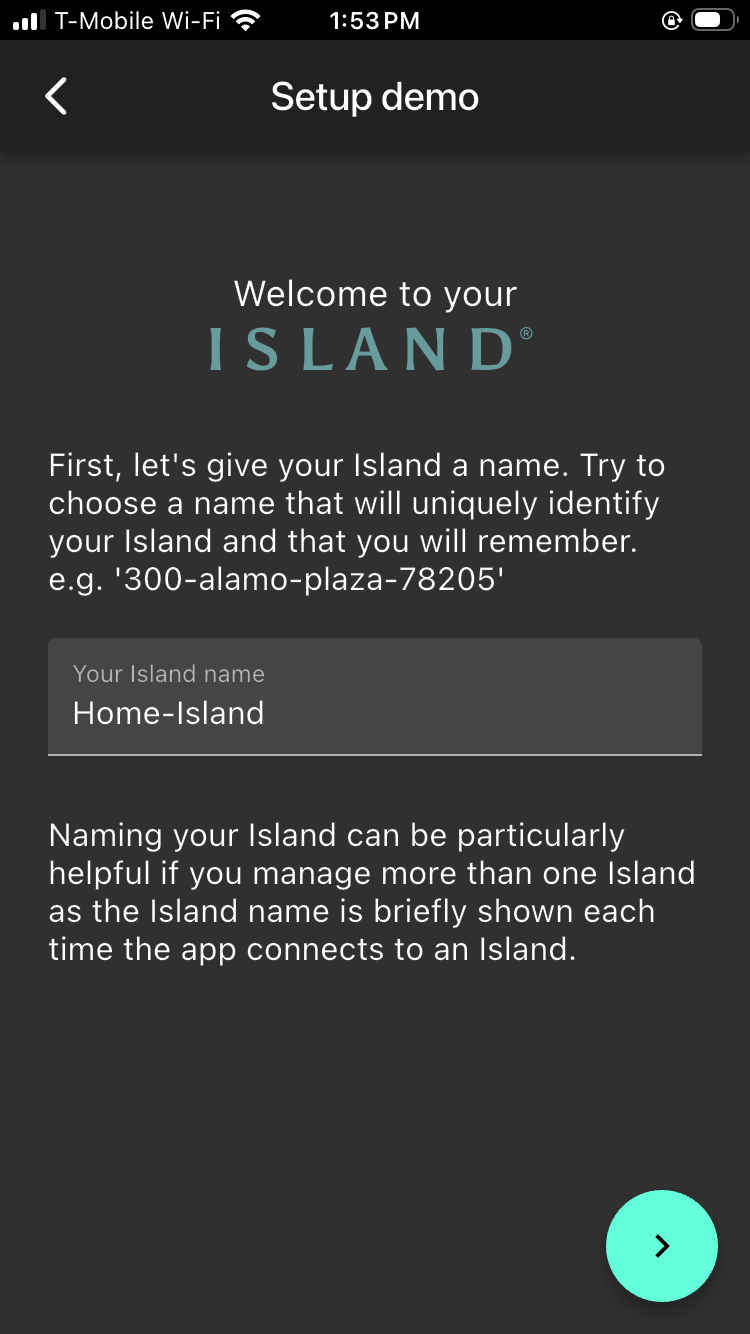
Give Island a name
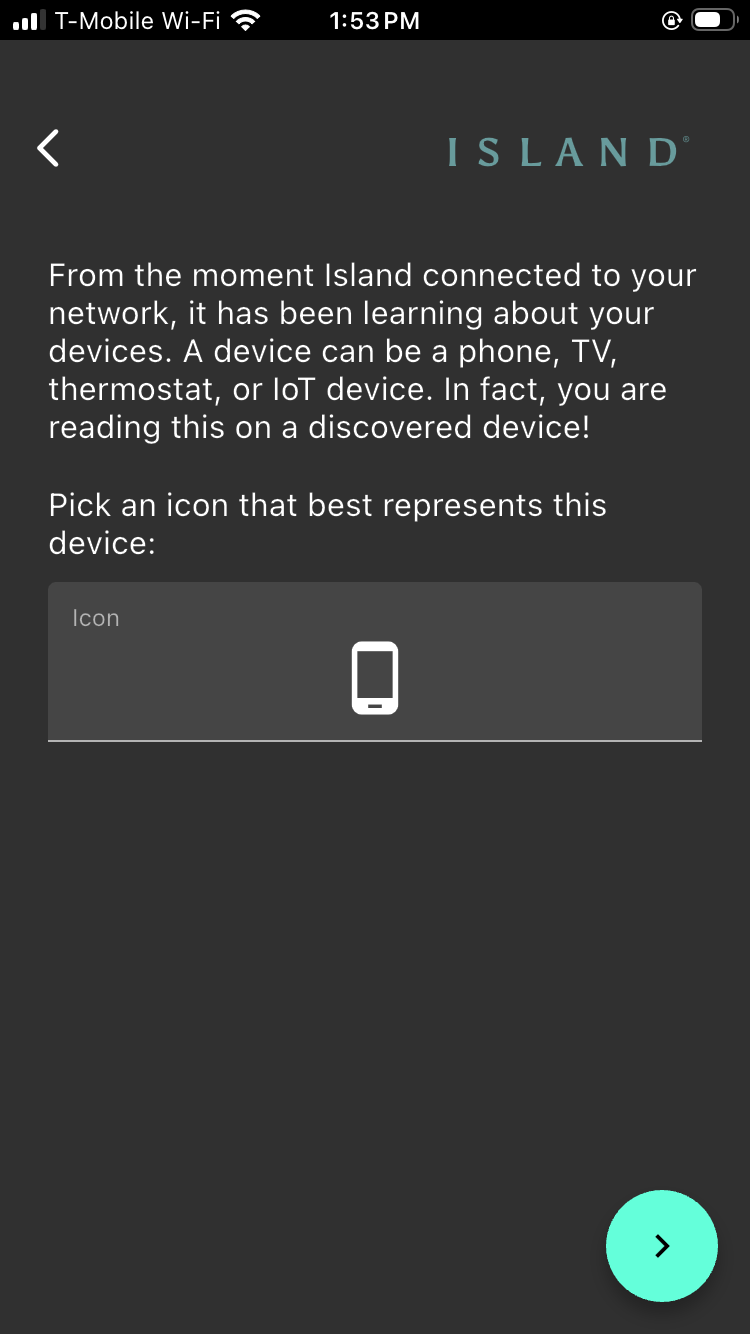
Select an icon for the device configuring Island
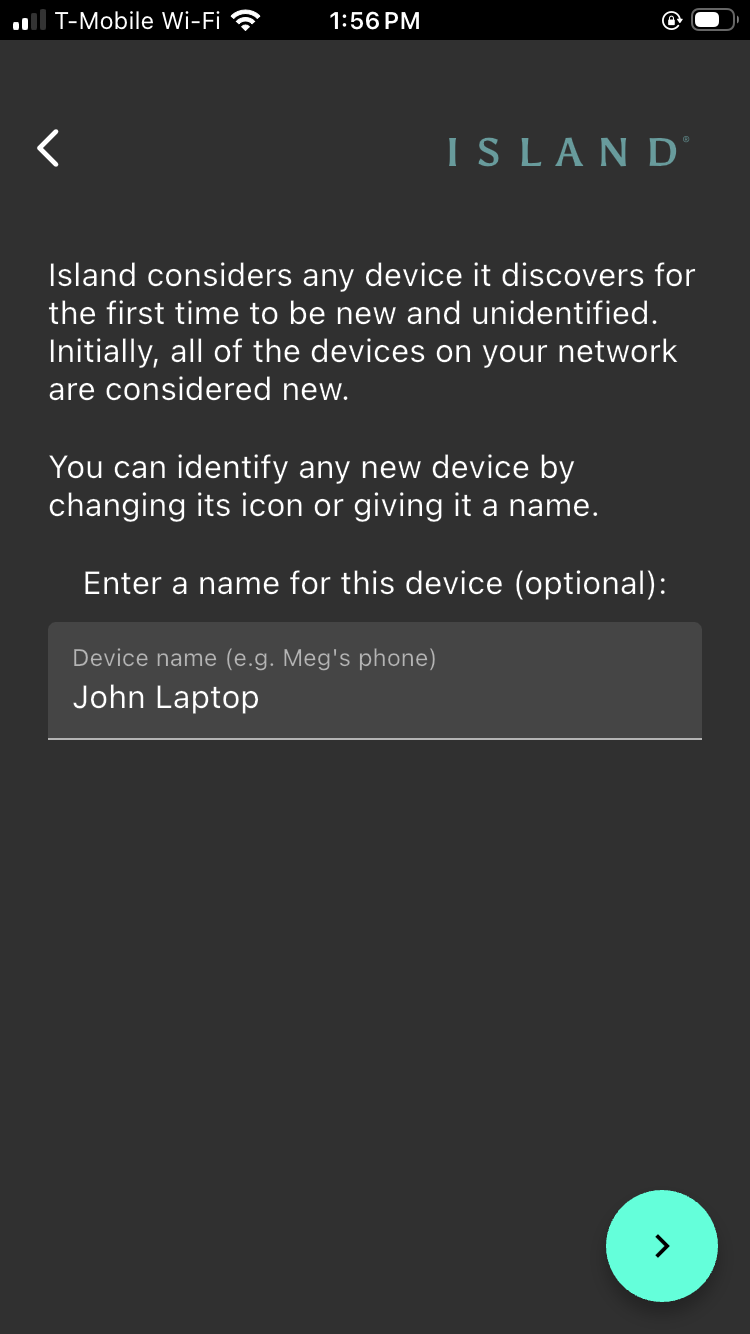
Give the device a name
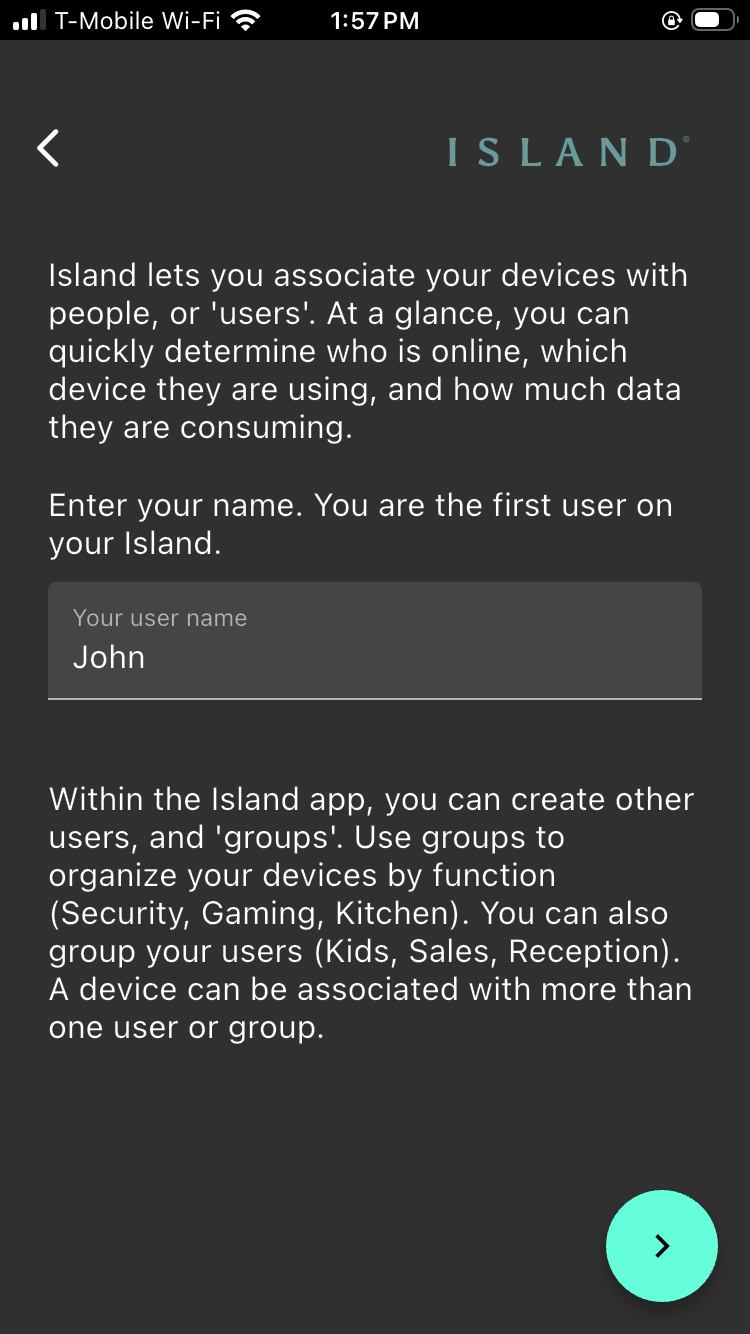
Give the user a name
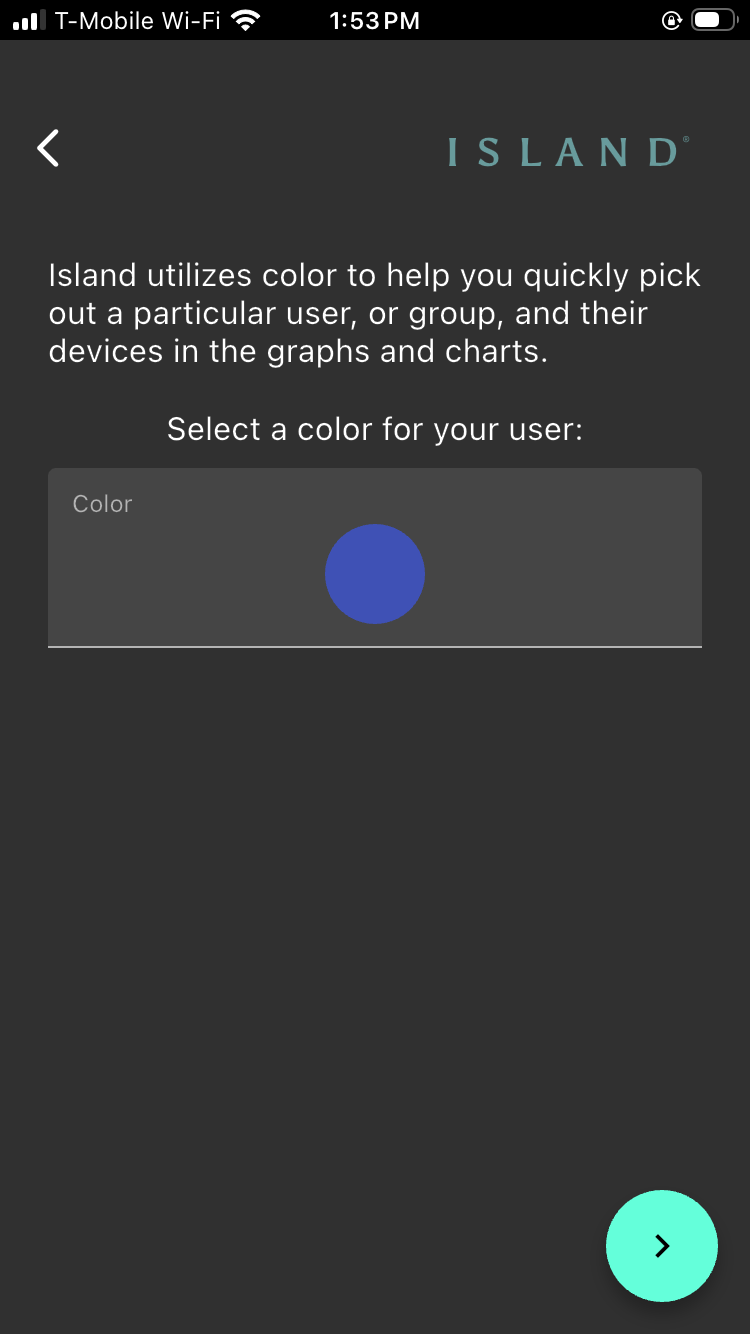
Select a color for this user
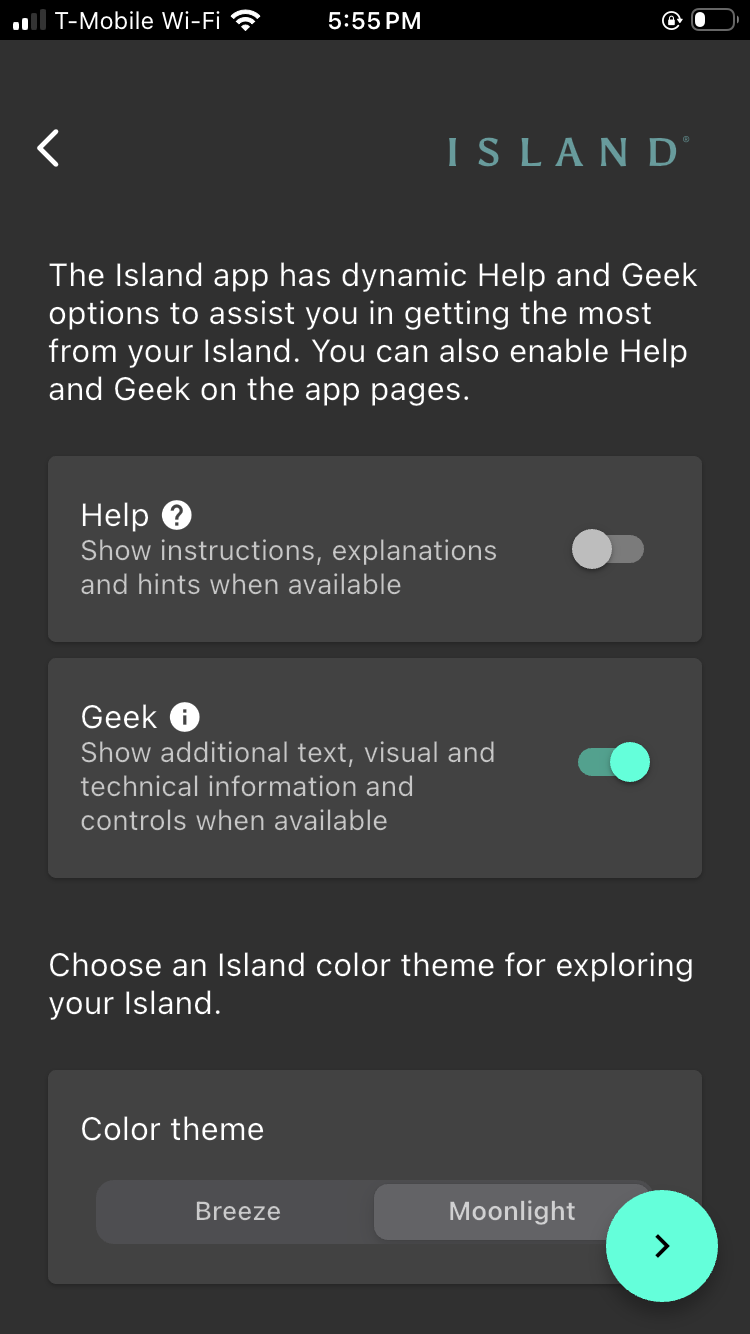
Ensure Geek mode is on and select display color
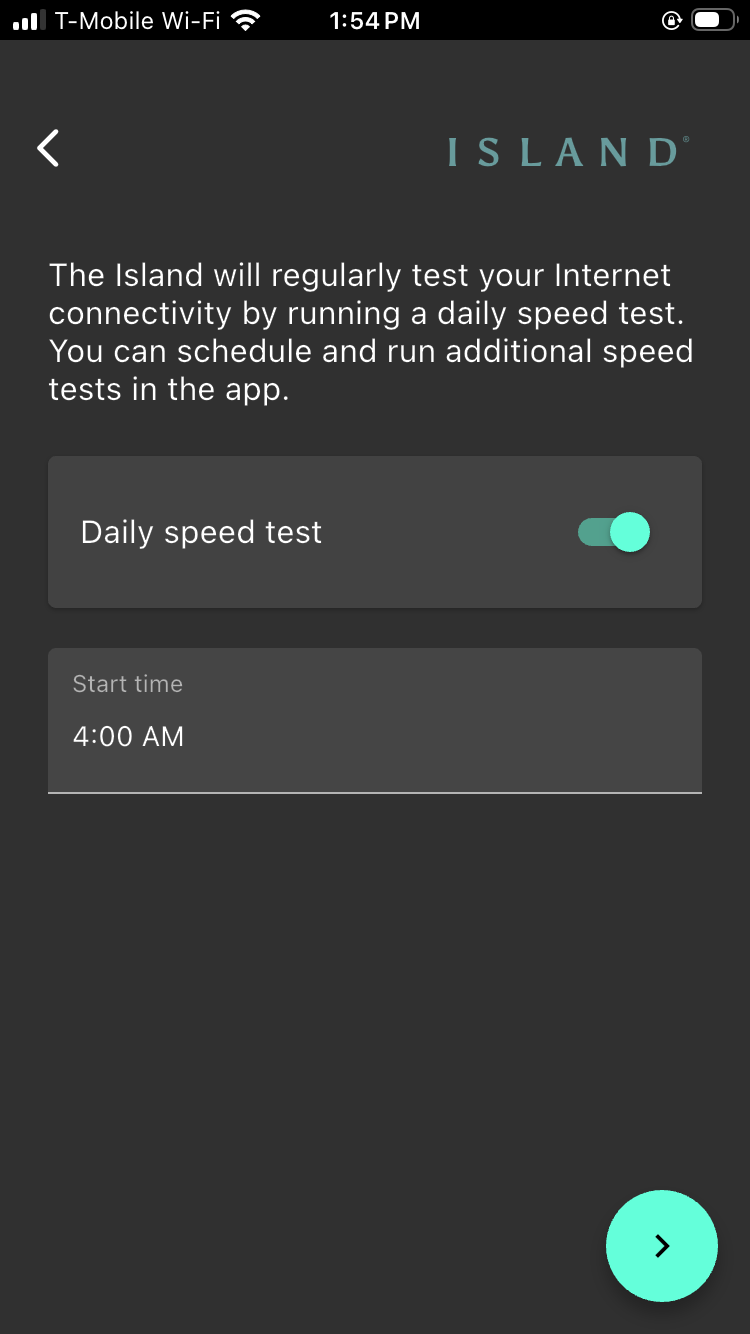
Set the speed test schedule
Step 5:
Enter and confirm a PIN for the Island, making sure to take measures to remember it. If you don’t select “Remember PIN on this device”, you may need to re-enter the PIN at various points in the process.
Step 6:
As soon as the PIN Is confirmed, the app restarts and immediately checks if the firmware on your Island is current. If prompted to update, respond “Yes”.
Step 7:
Depending on the firmware version, the Island may reboot itself at this point.
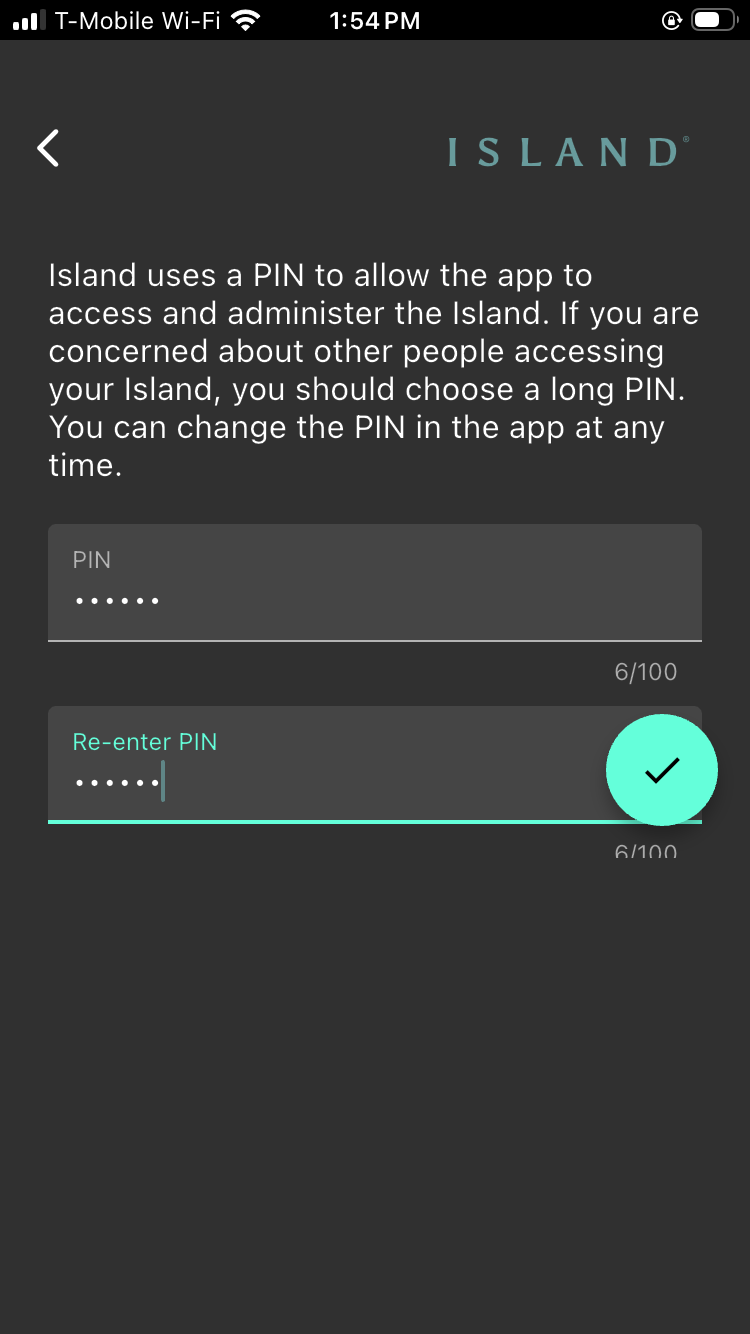
Create a PIN for the Island
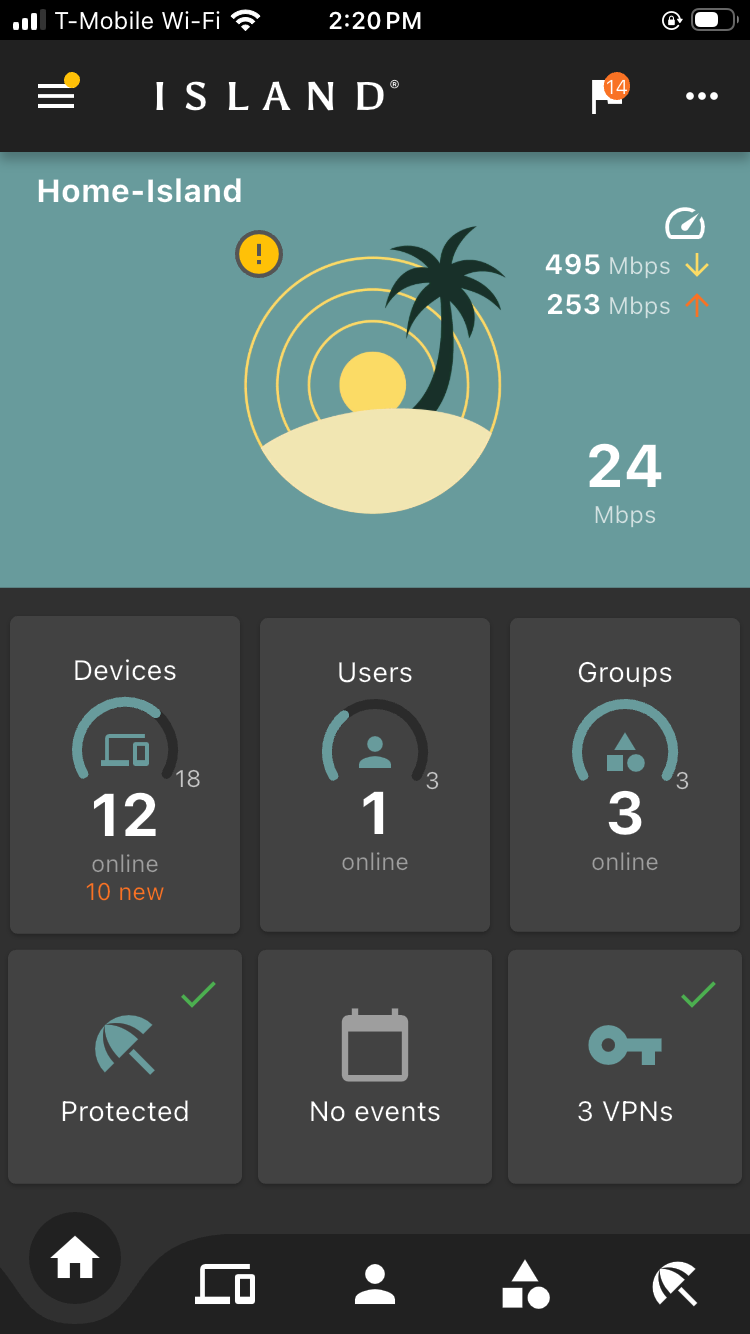
Go to the Home screen
Step 8:
At the conclusion of any firmware update, the main dashboard displays. Make sure to leave Geek mode enabled. At this time, if any port (interface) is in use but the port is in “fully automatic” mode, meaning that the interface mode has not been “locked” in, there will be an amber notice icon to the top left of the large Island icon. Ignore this notice for now. (If you click on it, a message box appears asking you to lock in the port modes. Do not click on “LOCK” at this time. Click outside the box or wait ten seconds for the message to disappear.)
Step 9:
The following 3 steps must be done in the exact sequence as given below. Only if using the mobile app, close the app now, but take note of Steps 10-12 before closing to understand the cabling sequence.
Step 10:
Identify the cable connecting the WAN port on the existing router. Unplug it from the existing router and plug it into any port on the Island (either a 2.5G port or 10G port with appropriate transceiver).
Step 11:
Reboot the modem and wait for the modem to come back up. (This can take some time, depending on the modem.)
Note: Some modems have an internal battery backup. If so, remove the battery before reboot.

Step 12:
Disconnect the existing router from the network and give Island a minute or so to take over the disconnected router’s IP address and assimilate existing device IP addresses. The Smart Swap procedure is then complete.

Step 13:
ONLY if using the mobile app, open the app now.
Step 14:
From the main dashboard, click on the amber notice icon to the top left of the large Island icon. A message box opens asking you to lock in the port modes. After ensuring that the recommendations for the interface modes are correct, you should now select “LOCK”. (This action can also be accomplished by going to the Network screen under the top left hamburger menu, where you will be prompted to lock ports if needed.)
Note: If you need to adjust the IP address range or DHCP scope, you may do it from the LAN interface screen as shown in the last screen below.
Click the amber exclamation
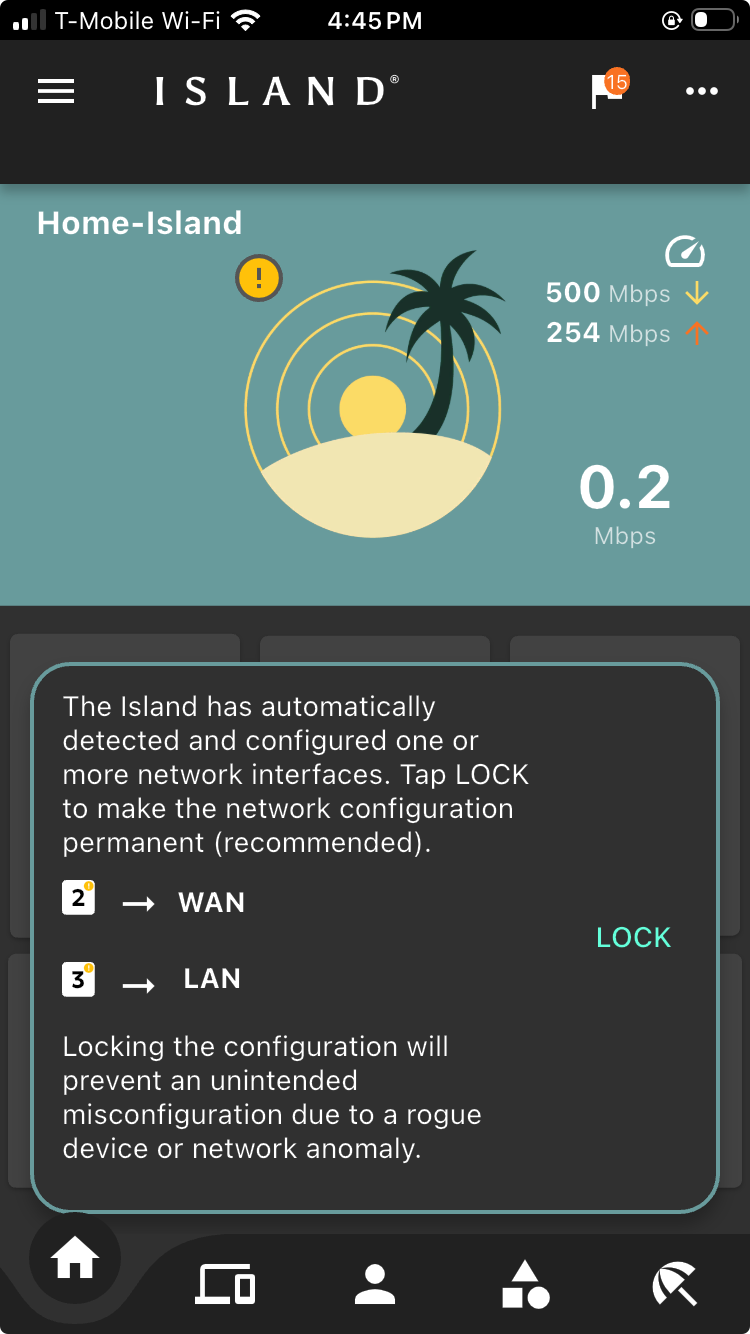
Follow the prompts to lock down the ports

Optional: Edit the LAN interface name, IP address, and DHCP scope
The Island install is now complete. You can now return to the main dashboard to begin exploring the Island app.